

Join me as I take you through the process of a Self-Publishing Book Project with Blurb Books. You will learn how to think about your photo project, I’ll help you make decisions about your book choices and even show you how to use Lightroom Classic and BookWright to design your book. But first, let’s talk about your photos and the reason you should make a physical self-published book with Blurb.
The Case for Printing Books
Your Images are Competing with Billions of Images
Everywhere I go I see people buried in a phone, scrolling through Facebook or Instagram. I was in line at the grocery store and 5 of the 6 people in line (I was the sixth) were scrolling through something. I noticed that none of them were reading. They were constantly sliding their finger up or down the screen. So they were consuming images, or videos without ever once stopping to appreciate the imagery they were seeing. It made me think twice about how impactful my images are when I post them on Instagram.
During my undergraduate studies, I took a course from Mary V Swanson, that was based in the business of photography and getting published. We would take field trips to the book store and browse through all genres of magazines and books doing research on which publishing companies were using photos. In the 1990s, the internet was still in its infancy and the gatekeepers to a mass market of viewers for our photographs were the publishers of books and magazines. Sure, you could self-publish a book, but it was either that or buy a car. So the vast majority of photographers either maintained an expensive hobby or continued to submit work to the gatekeepers in an effort to reach the mass viewers.
That is obviously no longer the case. Today, any photographer can reach the masses with a free social media account and a smartphone. Whether the masses will see their images depends now on searches, algorithms, and trends rather than an editorial board. But this means that there are over 500 million people sifting through 95 million photos/videos that are posted to Instagram every single day! No wonder the people in the grocery store line never stopped swiping through photos on their phones. Who has the time?
Getting Past the Gatekeepers
When the gatekeepers of the photo viewing market fell to the open free-for-all arena of social media, blogs, and Wix sites, the world gained access to a lot of great photographers and those great images instantly got lost in the junk pile of cappuccino photos and eye makeup videos. And worse, the public lost its ability to focus on a meaningful image for more than a second. Muscle memory is hard to fight. That thumb is going to keep scrolling even when the brain says, “hold on, that was interesting!” Too late, it’s at least three swipes up your feed.
I both love and hate the brave new world of photography. I love the access that technology has given us to tell stories and promote our work to anyone and everyone. It’s no longer who you know that gets you access to the mass market… you have access; the market can discover your work, and you can even target an audience and drop it right in front of them anytime you want. Unfortunately, the venue is less than ideal. Your work will be appreciated for all of one second if you are lucky, maybe even a “like” or a “heart.”

There are Too Many Photographs in Your Feed
For those who know their work is worth more than a passing glance on a continually scrolling 3-inch screen, there is print. There may be a number of steps in the relationship between someone liking your work on social media and them buying a printed photograph, but you will know someone is serious about photography when they hang a print on their wall or hold a book or magazine in their hands. I don’t think there is a better way to experience photographs than in a well-printed book or magazine. It is the perfect viewing distance to really experience the image and the perfect opportunity to add contextual information with text about the image.
Early in my career, the only way to make a book project was to print hundreds of them and plenty of photographers sold the extra car to pay for the book printing and then spent the next ten years trying to sell the book to recoup the cost. They did it because they understood the value of the book experience! Today, we can print just one book (or magazine). This is as big as the online photo revolution, but with a better outcome for the photos!
The Best Proofing Method for Client Photos are Books
I am a professional photographer and as such, I am paid to take portraits of people and document weddings among other things. This new access to one-of-a-kind book printing changed the way I provide physical images to my clients. Before affordable books were available, my options were to print a stack of loose proofs or post them online where the images would be viewed on the client’s uncalibrated monitor with ungodly saturation in the magentas and the sharpness turned up to 1000%. I realized, with a book or a magazine, I could control the print quality and the experience the client would have when they looked through their images. I could control which images were shown next to which, and how big each image would be seen. There is no better way to show a client the images from their wedding than in a well-styled and beautifully printed book.
Although I use quite a few different programs to design different books, Blurb Books has always printed them and my clients love the experience of sitting down and looking through their images from a wedding or a portrait session with a beautifully printed and designed book.
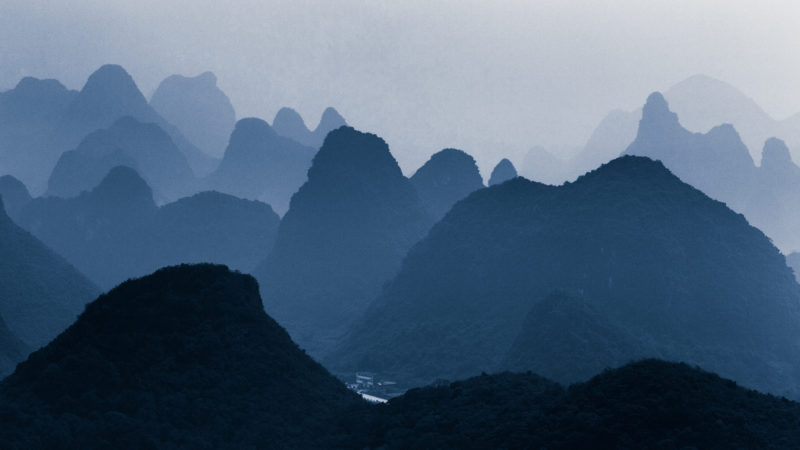
Even though I make my income in portraits, weddings and lifestyle photography, I am like all photographers on the planet. I love making landscapes, still lifes, travel photography and documentary work. And most of the time, that kind of work is completely personal. But I want people to experience that work, but I want them to enjoy the images in a way that I control. I can’t do that on Instagram or Facebook. That is why I don’t just publish my photographic work online, but also in self-published books and magazines; total control over the experience.

Self-Publishing is Photo Training
Self-publishing also provides an incredible learning experience for the photographer. There is so little thought that goes into the process of posting an image to Instagram. That’s why people post photos of the cheesecake they are about to eat. But reviewing and selecting images and designing a book around those images is an entirely different experience. It inspires deeper thinking, more planning, and most importantly, it slows the process down a little. When you decide you are going to make a book, the process of selecting your images becomes a much more serious endeavor. You ask yourself more questions about the images and how they fit together. Just the need to come up with a title for the book makes you think about the theme of your images.
As you design your book, each image is placed on a page with a great deal of thought. Will it be on its own. Will there be an image on the facing page, or with there be any text to help explain the images? Should the image fill the entire page? If not, how big should it be? Should the image be cropped to fit the page design a little better, and if so, how does that change the meaning of the image? The process of putting images on a series of sequential pages also requires you to think of the sequence and the cadence of the images or the story being told. This process of self-publishing is one of the most productive things a photographer can do to improve their photography.
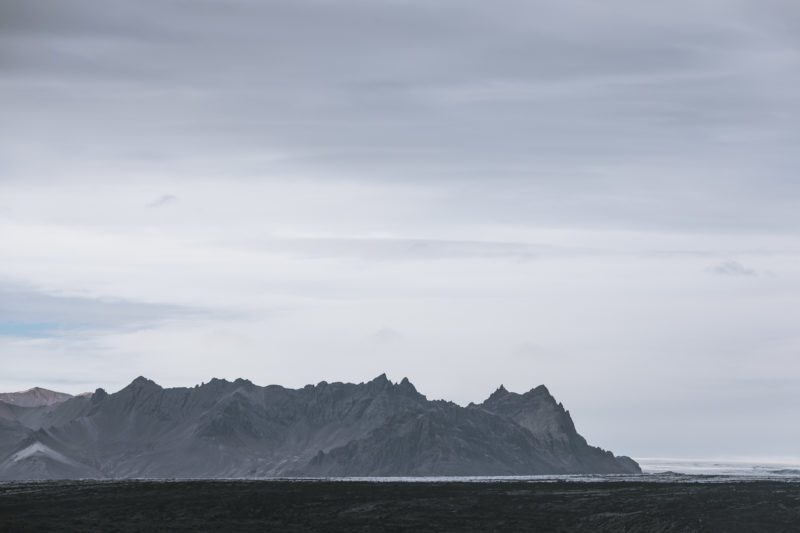
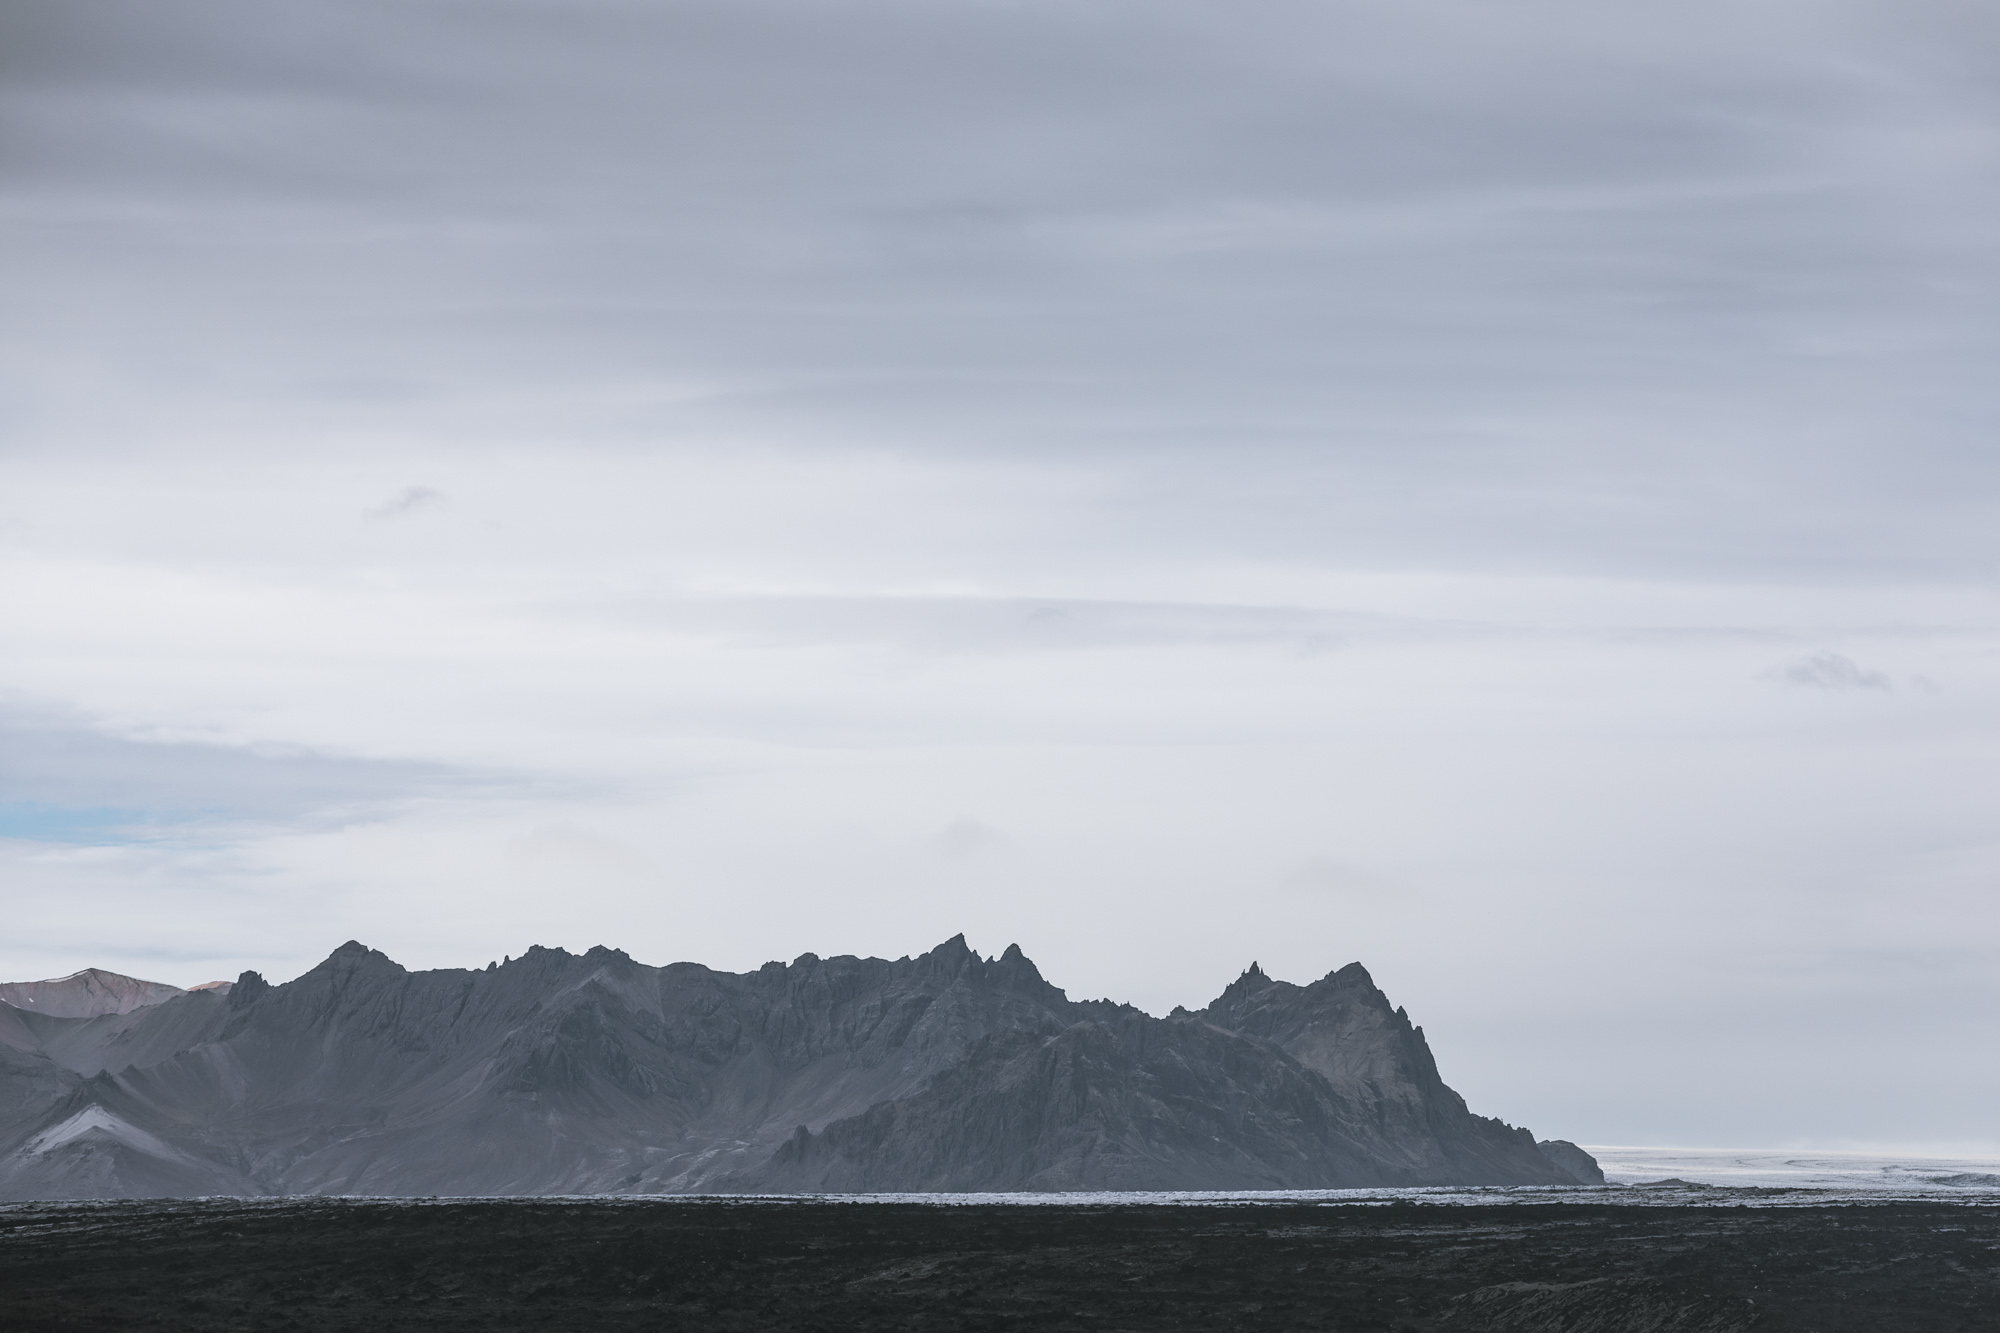
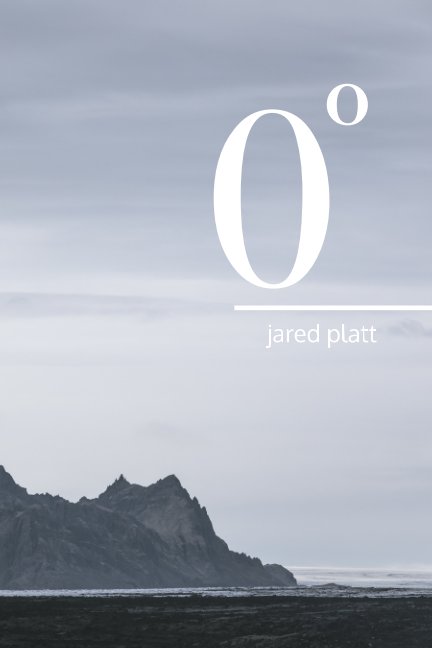
I always have a few personal projects happening at any one time. Right now, I am creating a book I call Notes, which is a small book with a mixture of photographs spanning my entire career and my personal thoughts about the photographs. Often times those thoughts are stories about the photos and sometimes they are metaphoric musings inspired by the photos. I have been working on that project for a little over a year now. I have just completed my 0º project which is a large book of landscape images with a small behind-the-scenes companion book. You can watch the process unfold in my video series Self-Publishing a Photography Book with Blurb Books. In the series I discuss the entire process of reviewing and selecting images, honing in on a subject for the book, choosing the right kind of book for the project and even designing the book. I also teach you how to use two different book designing tools: Adobe Lightroom Classic’s Book Module and Blur Book’s Book Write software. I hope you will watch it and join me and engage in your own Self-Publishing project at the same time.
The internet and social media upended up the flood gates and connected photographers with the world. But the availability and affordability of Self-Publishing finally made it possible for photographers to bypass the gatekeepers and present their art in a truly meaningful way to connoisseurs of photography. Not only are my Blurb books a very large part of my professional photography business, but they are an integral part of my improvement as an artist. If you have not created a self-published book, now is a great time to start. It doesn’t have to be a big, expensive book. It could be a simple magazine. But take this as a challenge. Watch my series on Self-Publishing a Photography Book with Blurb Books, and start your own project today. You will walk away with far more than a book in hand.
Your Assignments:
Welcome to class. In this set of lessons and assignments, I will walk you through the process of creating your own Self-Published Book. Take it one step at a time. When you are done with your book project, I would love to see what you have created. Make it public on Blurb.com and post a link to the book project here in the comments so we can all see what you have created. Who knows, we might even order a copy of your book for ourselves.
Assignment 1: Create a Collection
Using the plus button by the Collection or Album panels in Lightroom Classic or Lightroom Desktop, make a new Collection/Album and start collecting items into that collection. You will be far more efficient if you assign that collection/album to be your Target Collection and you Sync it with the Cloud (the Lightroom Ecosystem).
Assignment 2: Start Searching and Collecting
Just start looking through your images and look for an image or set of images that will become your inspiration. Once you have an inspirational image set, start searching for images based on that inspiration. You can use keywords, or locations, people or dates. If you go into the Lightroom Desktop or Mobile applications, you can search with A.I. help in the form of Adobe Sensei. When you find images, throw them in your collection and move on. Don’t be too detailed at this point, just collect on an instinctual level.
Assignment 3: Pair Down Your Collection
Create a new collection/album and call it the same name, plus “pass 2” at the end. Make it the Target Collection and start looking through your first collection. Look for common themes and connections between images. If you are telling a narrative story, look for images that will help push the narrative along. Use the Command or Control Key with the B or T key to add them to the target collection (B in Lightroom Classic and T in Lightroom Desktop). Or just drag the images into the new, smaller collection. Be more selective on this pass.
Assignment 4: Brainstorm Your Presentation
While you are looking for this second set of images, you will have more concrete ideas coming into your mind of how the images could be presented. When you do, write them down and entertain them as you go about your day. It is time to start thinking about books and sizes… will there be text? How much text? Do the images need to be big or small? Is it an intimate experience, or is it something to sit on a coffee table?
Assignment 5: Choose the Proper Software to Design Your Book
Once you have a collection of images (even a loose collection) and you know how you want to present your images, it is time to choose the proper software to design the book. There are three programs that will do an excellent job at building your book and will automatically submit it to Blurb Books for publication.
Lightroom Classic: Lightroom Classic’s Book Module has Blurb built-in. It is very simple to use and my favorite thing about it is that I can design a book with completely RAW images. This means that once the book is designed, I can edit any of the images right in Lightroom and they will be automatically updated in the book design. I can also design the book in the Lightroom Catalog on a plane while the actual photos are sitting at home on a large hard drive. I don’t need to collect the photos first, export them, and then import them into another program to get a book design finished. So Lightroom Classic is an extremely convenient and efficient tool for designing books. It does have two shortcomings. First, it is not simple to work with Text in Lightroom’s Book Module. Although the text editor has the same text controls as Indesign, it is cumbersome and clunky to work with text in the Book Module. Second, there are limited paper and products available in Lightroom’s Book Module. But if I am ok with the products that are available there, and I have a book to design with limited amounts of text, it is the most efficient way to design a book.
Blurb BookWright: BookWright is a FREE layout program (downloadable at Blurb.com) that is simple to use and quite powerful. It has many of the simple functions for organizing images as you build your book that Lightroom does. And it has a far easier text editing environment. If I am designing a book with entire pages of text, I will choose BookWright over Lightroom Classic every time. The major downside to Bookwright is that it requires you to export your images from Lightroom or whatever image program you use and then import your final images into the BookWright software. This means you not only are making extra copies of your images but that if you design the book and see that change needs to be made, you need to go back to the original photos, make the changes, re-export them into the same folder and then synchronize those changes with the software. That is a lot of work for a small change in a book. But, you will more than likely save more than enough time to make up for it with the improved text editing environment. BookWright also has a shape tool which helps in adding subtle graphic elements into the design of the book.
Adobe InDesign: There is no question that the Gold Standard for page layout design is Adobe InDesign, but it is a complicated program to learn. And that is InDesign’s negative. If you don’t know how to use it already, you probably don’t want to learn how to use it. But if you do know how to use it, it is very powerful and can create anything. You can add photos, text, vectors, and even video to an InDesign document (not that the videos will be printed in a book, but their thumbnail could be). It is similar to BookWright in almost every way, just more powerful and more complicated. Anytime I am designing something that needs an extremely finer touch and especially something that is going to have a lot of text, like a magazine or a how-to photo book. I am going to use InDesign because I already know how to use it and it is “all-powerful.” But again, BookWright has most of the important capabilities that InDesign does.
All three of these programs can create a beautiful book design and send it directly to Blurb Books for printing. I have covered Lightroom Classic and BookWright in this book project set of lessons since they are the two simplest programs to use. Your job is to decide which of the programs to use based on your skill level and your book project requirements. If the book is very minimal on text, then I suggest using Lightroom Classic. But if you need more text in your book, or you don’t own Lightroom Classic, then BookWright is the best option. Unless of course, you are an InDesign user. So make you choice and let’s get started making a book.
Assignment 6: Add Your Graphics and Logos to Your Collection
Make sure to add your graphic elements or logos to the Collection/Album before starting a Lightroom Book Module book or exporting your images for your BookWright / InDesign project.
Assignment 7: Decide on Your Book
What kind of book are you going to make? This is where you need to make some choices. You should have been thinking about this the whole time that you were looking at images. What is the purpose of this book? How do you want it to feel? What kind of price point do you want to hit for this book? Is it for people to take on a vacation and enjoy, or is it a coffee table book? Choose the type of book you want to make, the size, the shape and the paper! You will be asked all of these questions when you start your project. You don’t need to make a $200 Photo Book right off the bat. You can make a Trade Book or a Magazine for $20. Start there… it will be fun, simple and you will get a chance to experience the entire process from start to finish.
By the way, if you don’t know what to expect, and want to see some books and magazines, just go to www.blurb.com and buy a few books from the Blurb Book store. You will find some very interesting book projects there and you will be supporting other artists like yourself.
Assignment 8: Design Your Book
Don’t get nervous now and stop. Keep going! You have nothing to lose. You don’t even have to order this book if you don’t want to. But you need to start the book. And not just so you can finish it, but so that you can experience the process of laying out images in relation to one another and the words that go with them. There is a lot of education in this process. So get started.
Lightroom Classic: If you are using the Book Module in Lightroom, just choose your second, third or fourth pass collection/album and then go into the book module and start placing images. Have fun. Watch the full video lesson on designing a book in Lightroom Classic.
BookWright: If you are designing in BookWright (or InDesign), you will need to select your final collection/album of images and export them as full, high-resolution images, most cameras today are high enough resolution for a 12×12 inch book. So just export them at their native size and you should be just fine. If you are shooting with an older camera, you might need to increase the size slightly when you are exporting them. sRGB JPGs at 100% Quality at their original size is perfectly acceptable. Watch the full video on designing a book in Blub’s BookWright software.
Assignment 9: Order Your Book
It’s time to order your book. All three of these programs can submit your book directly to Blurb from the program. Just order one for now, even if you plan on making more. It’s good to see the book and confirm that what you are expecting is translating on the printed page the way you expect.
A word of warning: if you have never calibrated your monitor, you may not be seeing accurate color, contrast or brightness. If you edit your photos and put them in a book design without a calibrated monitor, you may end up with very different results on a printed page than what you are seeing on your monitor. It is a very good idea to calibrate your monitor. To learn how to do that, watch my video on Calibrating Monitors.
See The Final Books
You can see the final books here. Just click and browse the books and even order them directly through BLURB BOOKS. Enjoy!
The Art Book
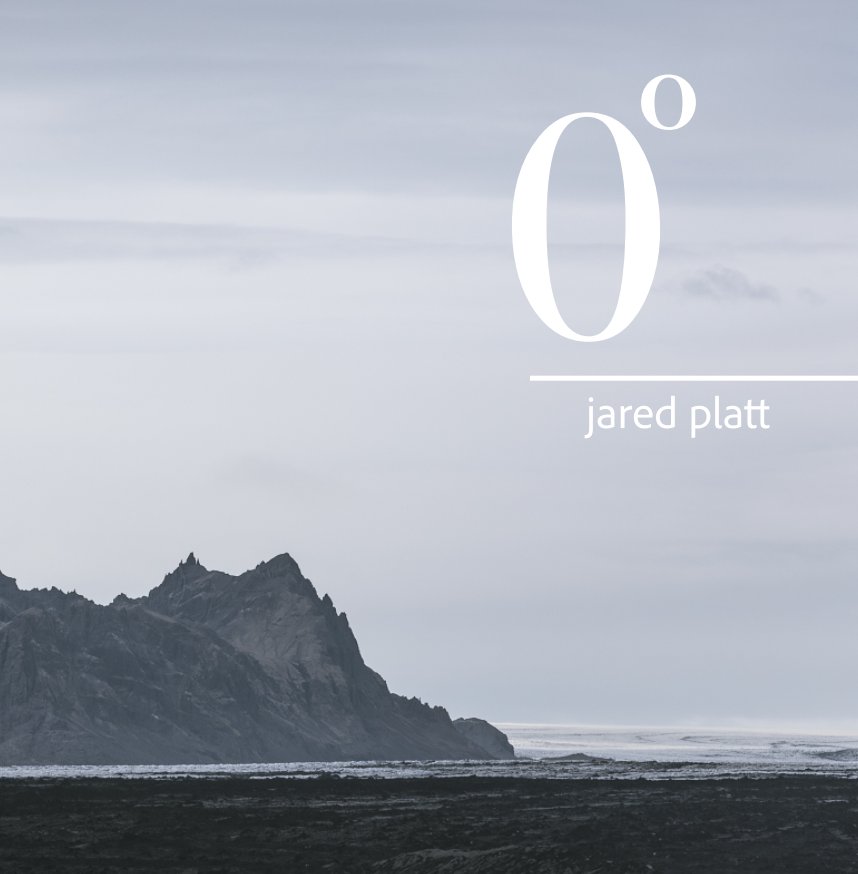
Behind the Scenes, Companion Book


Leave A Comment
You must be logged in to post a comment.