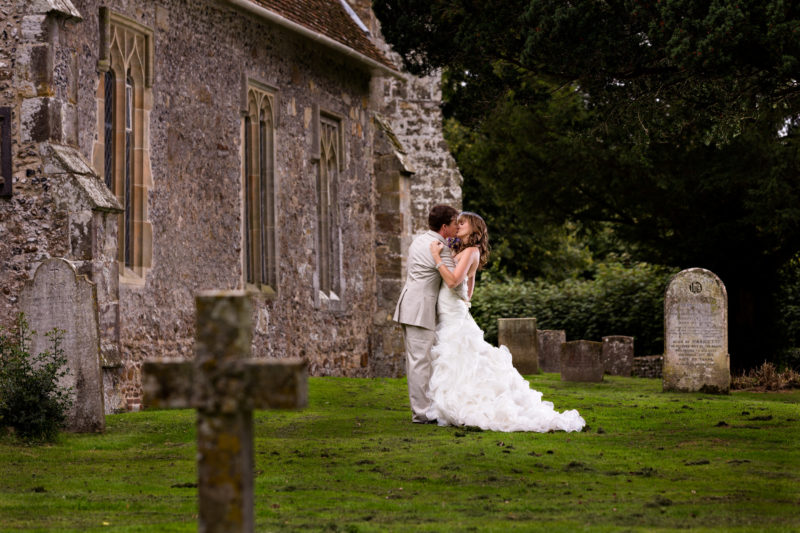
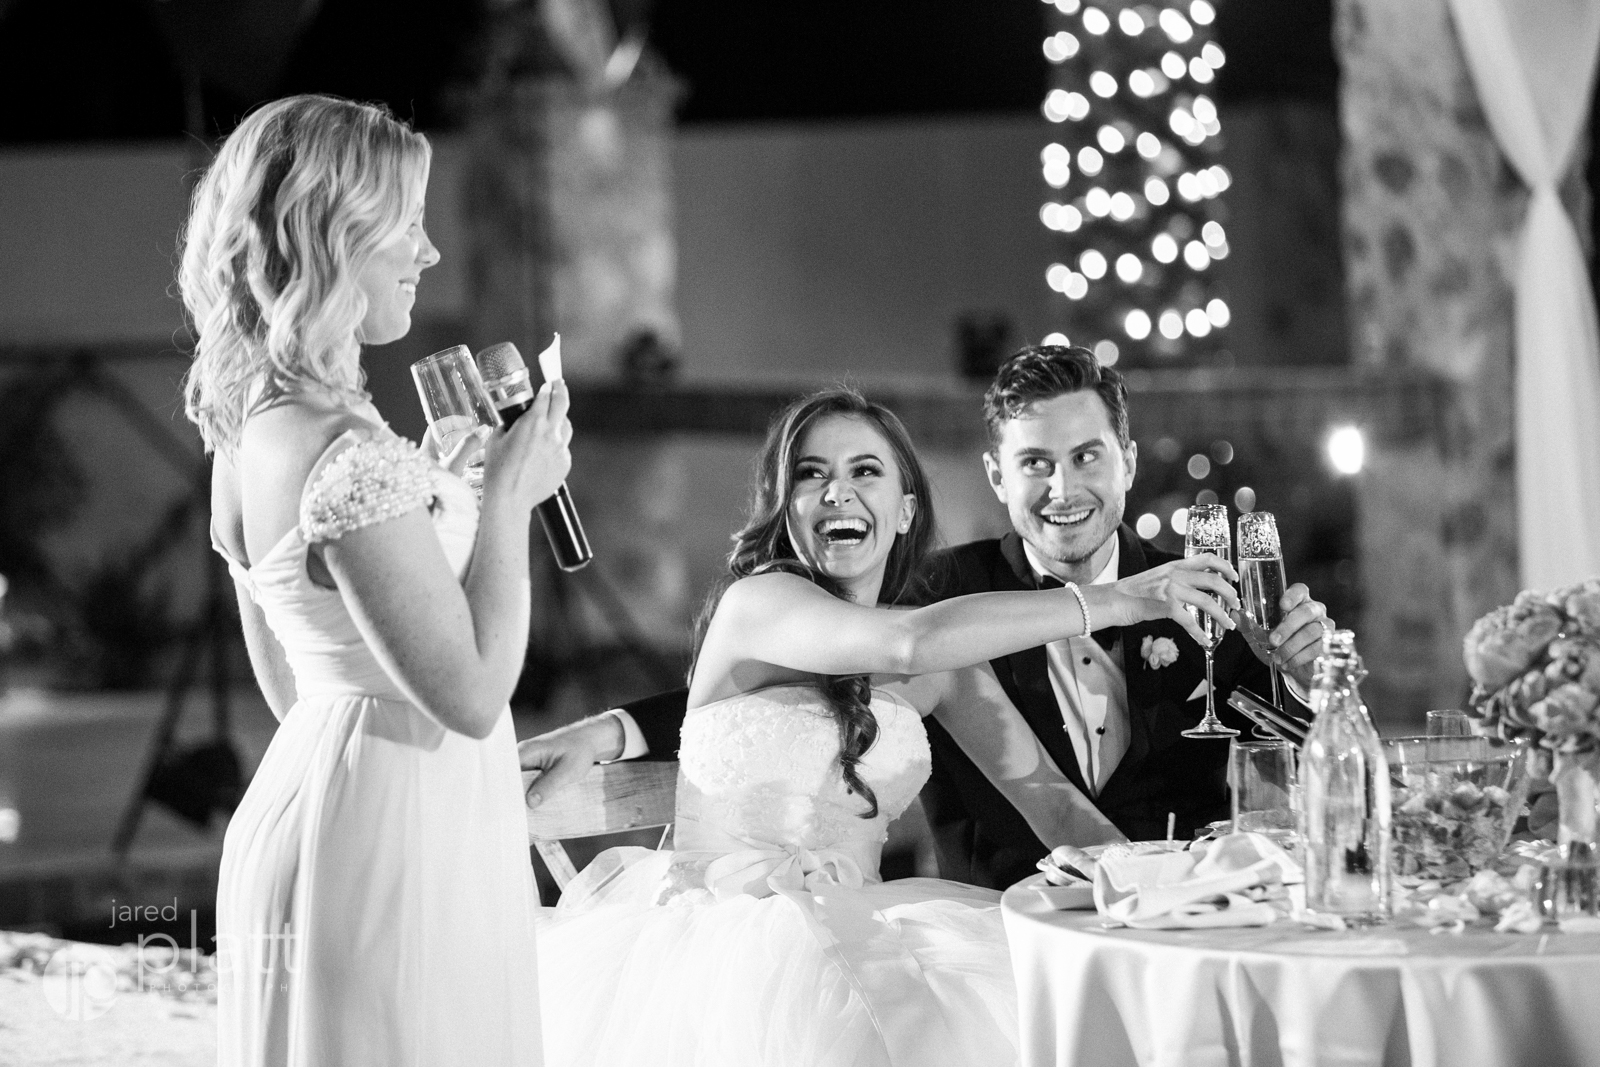
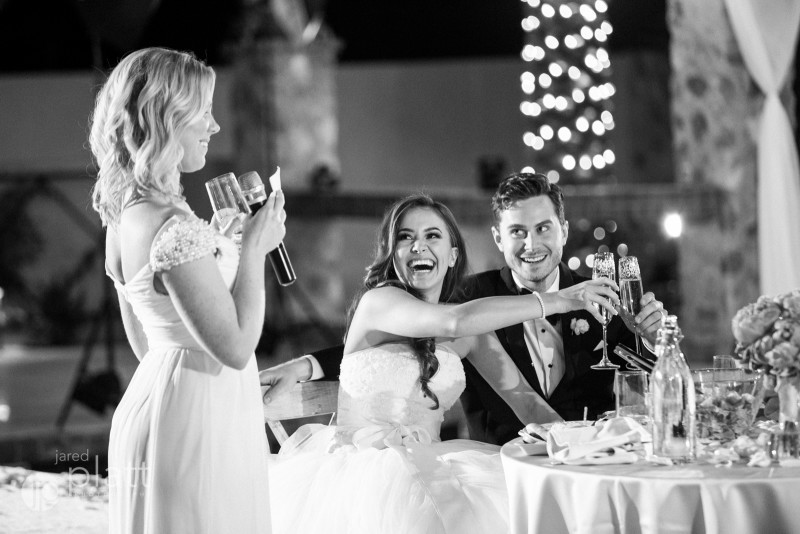
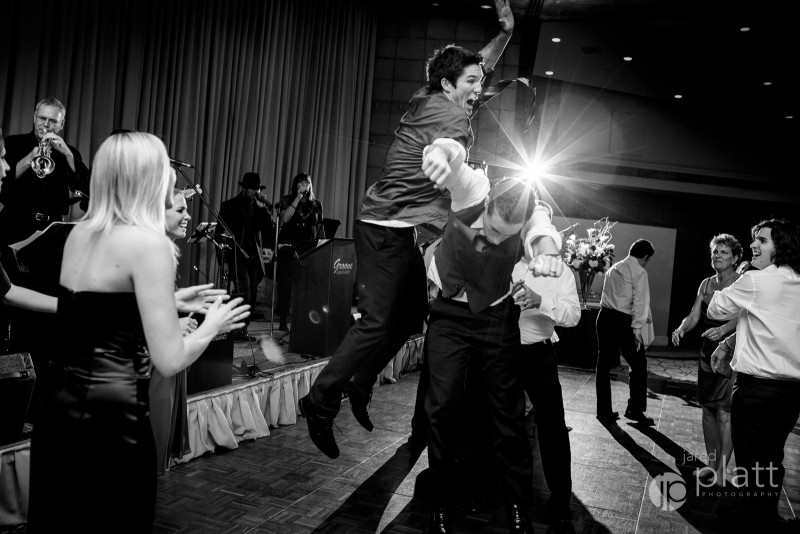
Linking Speed-lights together is a fantastic way to increase the volume of your shot, dramatically emphasise your subject and tell a better story. When shooting events, frequently you are in a place with poor lighting. It’s your job as a photographer to make your subject look amazing no matter what the available light is like. This video will show you the basics of linking your speedlights to all fire in sync with your camera and how they can be controlled from your master speedlight.
[raw]
[/raw]
Shooting receptions and parties can be a lot of fun. There is usually a ton of action not to mention poignant emotions like love, and humor. Lot’s of shots from these events look like snapshots – overly contrasty and lit from a single source. Bouncing light off a wall or ceiling helps, but can only take you so far toward your ultimate goal of rich vibrant images. By placing speedlights at various points around the room you can greatly enhance the drama of your shots.
Try linking speedlights to create different effects.
Hair-lights separate the subject from the background, cross-lights bring out detail by building contrast; background-lights fill in the background adding it to the story — especially in large open environments; and fill-lights soften the light on subjects, adding to their beauty. You can use a number of tools to place the lights where you want them, including a variety of stands and wall mounts. A photograph taken while linking speedlights properly will emphasize the natural drama of, say, a bride and groom’s first dance.
Start with a master speedlight on your camera rather than a transmitter only. This will provide syncing capability, a backup light in case you have to grab a quick shot away from your setup and equally important the focus assist beam on your speedlight makes it possible for you to focus in very dark environments.
Using the link button, you can slave your disconnected speedlights to your master flash and once you have them linked, from your master flash you can set up your groups, change their mode, or turn them on and off. When shooting an actual event like a wedding reception, plan ahead for your most important moments such as cutting the cake or tossing the bouquet. Discuss with the bride or DJ where these events will happen and plan your vantage and lighting accordingly.
The best way to become skilled at linking speedlights is to get ahold of a few speedlights and go out and practice with them. This video shows you how to set up your speedlights to be in sync with each other, but being ready to shoot requires rapid deployment and changes to the settings. So, once your lights are set up, familiarize yourself with rapidly changing the settings on multiple lights. Learn to turn them up or down and on or off light – that way you can adjust or disable any lights that are causing you problems, or turn up lights that are making an effect you want to emphasise. Practice, practice, practice is the key to success with this technique. Pretty soon, making adjustments becomes natural, and you will see a significant increase in the drama and beauty of your photographs. Your audience will ask you again and again “how did you do that?” and “how come my shots don’t look like that?” and that, my friend is what makes you a pro.
Equipment List:
If you would like to be among the first to be notified of new videos and free downloads as they are released, be sure to sign up for our newsletter.


