It was a rainy day with strong winds all day and a bit cold for Phoenix, AZ in January, but we altered our planned photo shoot a little in the concept and went out shooting. Piano rock star, Kevin Burdick, was the subject. We decided to take the umbrellas, but when we got to our location, we had a break in the clouds, but not the wind. So we went with the umbrellas anyway. Kevin get very tired trying to hold the umbrellas up against the wind, it really was quite strong.
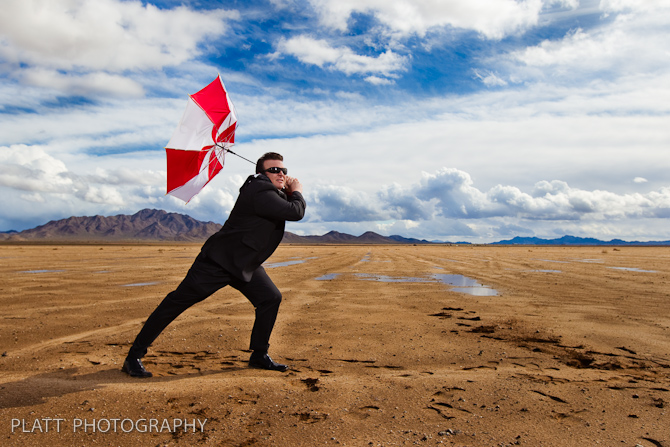
The photos were shot with the Canon 1D Mark IV.
Now on to some tips and tricks:
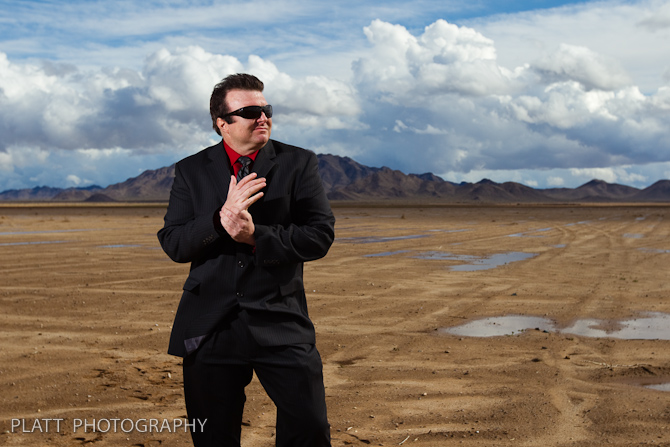
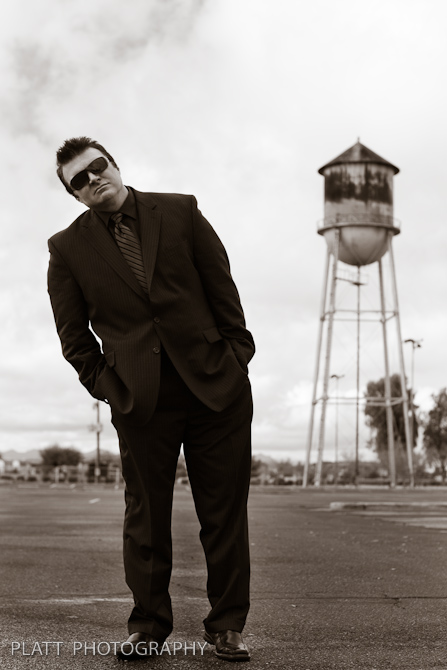
First, the sun is off to the right of the photo and slightly behind Kevin. Which means that if we took the photo without additional lights, he would be too dark. Remember, we are competing with some bright clouds in the background, so we have to control the ambient exposure to match. We could use a big reflector, or we could use a flash. It was just Kevin and myself, no assistant, so we chose a flash unit. A Canon 580EX II is mounted on a pole about 12 feet off to my right to avoid the on camera flash flattening effect. Because it is off camera, I had to connect it via wireless slave. I am using the pocket wizard TT1 and TT5 system. This allows the camera to communicate with the flash via radio signal, but unlike typical radio slave systems, that only transmit the fire signal, the TT1 / TT5 system allows the camera to communicate metering solutions etc to the flash for TTL auto exposures. The TT1/TT5 system also allows me to sync my flash at incredibly high shutter speeds via radio slave, and in order to get the ambient exposure right with the correct depth of field, I need to expose the image at f 5.0 at between 1/1600 and 1/2000 of a second. A typical flash slave system will only allow syncing with a flash at 1/250 of a second. So the Pocket Wizard TT1 / TT5 system is critical to the success of this photograph. When I need the light, but also need the shutter speed, I don’t have to compromise.
The flash is set to provide a bust of light which is about one and a half stops lower than the brightness of the sun. This allows the sun to remain the dominant light source. You can see that the sun is still creating its signature crest of light on the far right side of Kevin’s face, but it is not blown out. The near side of his face, though lit well, is still the shadow side. This combination of lights provides a good contour to his face. I am getting a studio lit look out on location with three lights.
“Three lights,” you ask, “but you have just mentioned the two?”
Light One: The sun. This is the strongest light on the set. It is the light coming from the side and slightly behind, giving me that crest of light on his face and hands, and acting as a hair light. It is also providing the nice bright crests on the clouds and the mountains.
Light Two: The Canon Flash. This is a direct light on Kevin’s face which is filling in the shadow not to match, but fall short of the power of the sun (light one). This gives us a great vivid exposure on Kevin’s face, without flattening the contours of the face because it is not on camera, but off camera and coming at the subject from the same side of the frame as the sun, so direction of the shadows still make sense.
Light Three: God’s Soft Box, the Northern Sky. The northern sky (because in North America, the sun is always in the southern sky) is a giant soft reflector of the sun’s light. That bounced light from the northern sky is filling in all the deep shadows on my subject and on the mountains and the clouds. Without the reflection of the norther sky, the shadows in the photo would be very dark. Now, I cannot position God’s soft box on a moment by moment basis, it is in a fixed position, but there are some things I can do. I can choose the time of day to shoot, so that either the northwest or the northeast sky is my active soft box and I can position my subject such that he faces the northern sky, and I can choose the proper location for shooting the photograph so that my subject can face away from the sun, toward the northern sky.
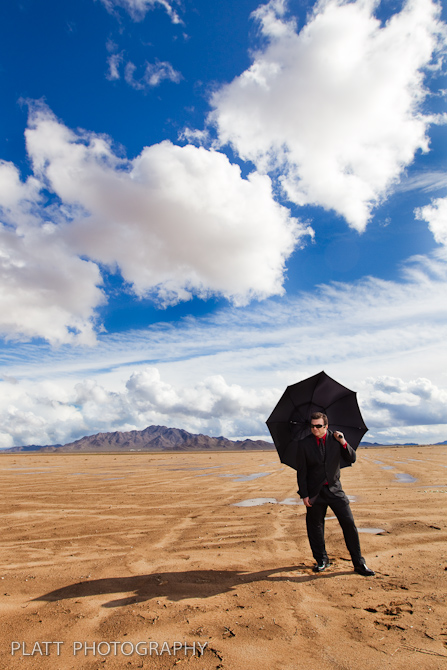
I always know where the sun is and is going to be. My iPhone, though not a good phone, has a great sun position app which tells me the exact position of the sun at any hour of any day well into the future. So, when I scout a location, I know where the sun will be a 3 PM on Jan 12, 2030 and can plan my photo shoot accordingly. I need to know this, because I want to get the best shot with the least amount of equipment possible.
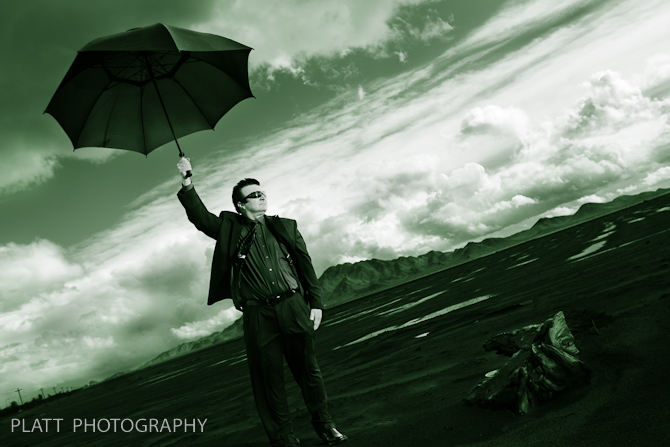
The green toned photo above is what happens when the sun changes brightness on you in the middle of the shoot. The original shot is a bit off in exposure, but with some fancy photoshop work using two different develops of the same RAW file, I was able to pull of a very cool shot and and control exactly how dark I wanted the background and the subject. I love the drama of the image.
Note: Although the rest of these photographs have undergone a major amount of burning and dodging they have not been “retouched much at all. I am not all that interested in major retouching, but burning and dodging, which I did very skillfully in the darkroom, is still a very key part of the beauty of my images. Although now, I have such precise control offer my burns that almost anything is possible. I often will slim down a subject or remove a belly with only burning and dodging. I will post my article on Burning and Dodging here on the blog in the near future. It ran in Professional Photographer Magazine in January 2010. If you have a copy, take a look.
_______
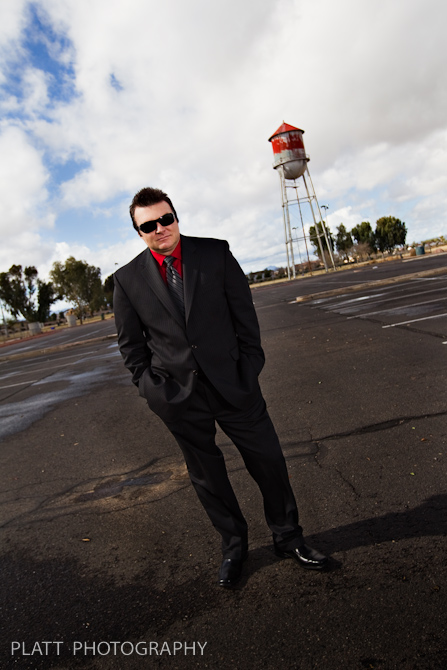
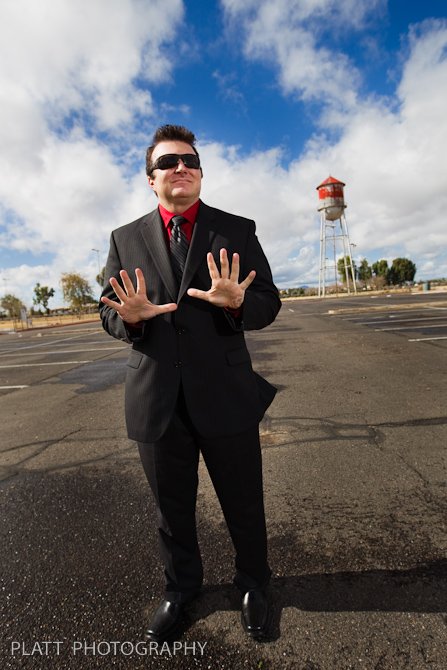
This next set of photos, we moved the position of the light from my right side to my left. Some people on my facebook posts have said it looks almost like he is being photographed against a backdrop, because he is popping out of the photo so much. This is what happens when you move your second light to a less natural position. Instead of the light coming from the same side as the sun’s light, it is coming from the other side, which subtly sets Kevin at odds with the shadows in the background. Ergo, he jumps out of the photo because he is no longer blending in to the light. Your mind sees him as different than the photo, even if your consciousness can not figure out why. Study the photo carefully and see the shadows on Kevin, then the shadows on the mountains and clouds.
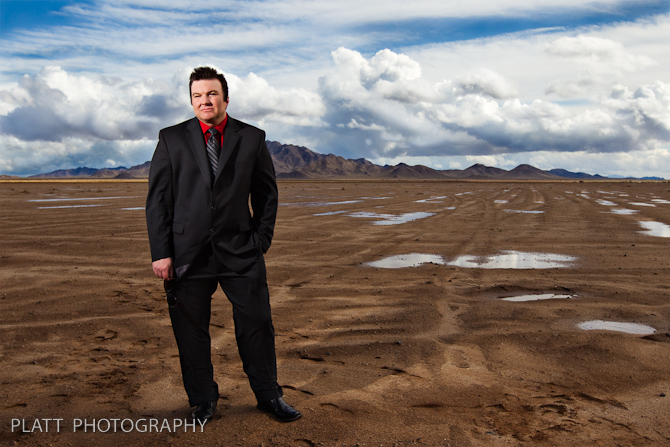
Anytime you want something to pop out of your photo, you have to make it different than everything else in the photo. Most of the time, people use a bight color to do this. More subtle is using a different texture of perhaps a different pattern, etc. Notice, he is also wearing a tomato shirt. That helps him stand out in every photo. But the lighting is the real key to creating that extreme difference that is still subtle enough to make one question their perception.
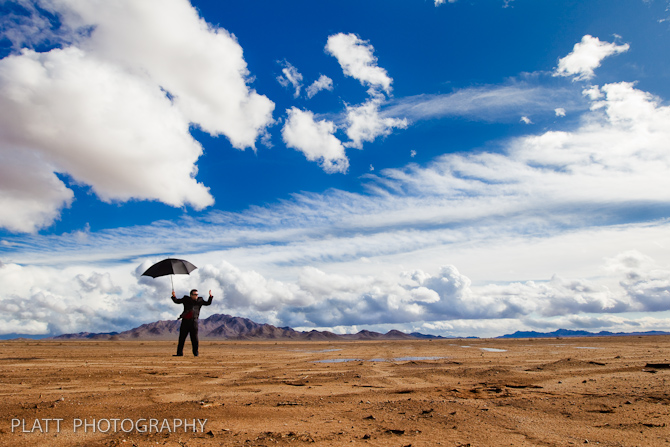
Now for the rest of the photo shoot. When he is far away from the camera we obviously can’t light him with a flash, so a little dodging in the post production fixes the shadow of the face. Fortunately, distant shots like these don’t require as much lighting, because they are more about composition. Besides, we still have our two lights working for us: light one and three.
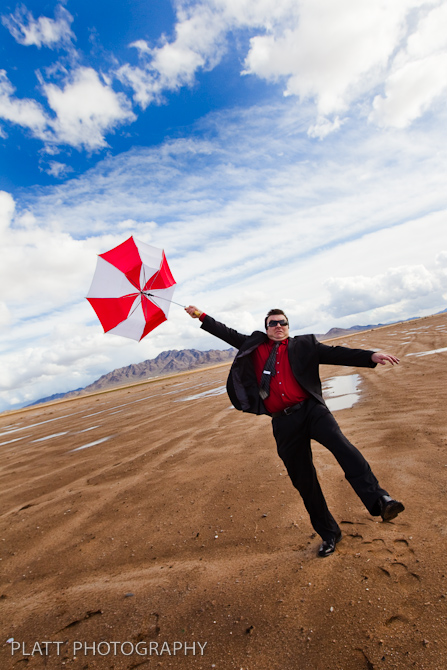
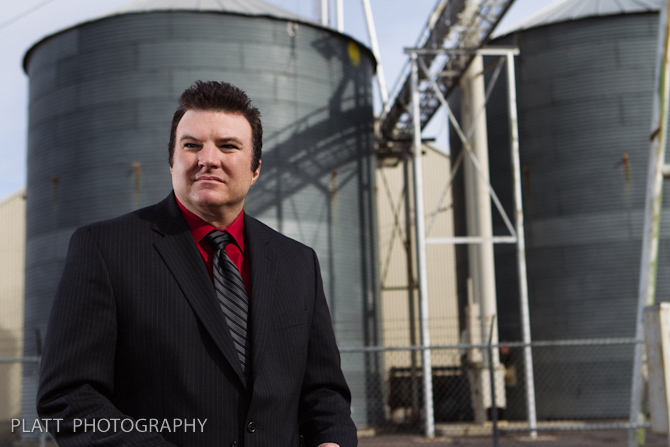
Before we went out for our location shoot, we also did a few shots in the studio. Kevin is great for expression. I posted a set of these expressions in a previous post, but here are a few larger shots I loved from the session.

You may be wondering what I did to the photos here. What photoshop action did I use? The coloring effect is done completely in Adobe Lightroom with the click of a button. It is one of many presets I have created for toning my images. This one reminds me of an old 1970s photograph of my mom and dad in horn rimed glasses and a few of the kids up in the mountains. The color is faded and the paper is yellowed and some of the silvers are oxidizing. It is a nice effect, but who wants to wait 30 years for that. Anyway, most people make these color presets with the color balance changes, but that sometimes messes up the photo itself. Making presets correctly is important. I am finishing up a second set of presets, which will be available for purchase by WPPI 2010 in Las Vegas (where I will be teaching a master class on Lightroom and if you are coming, I will teach you how to make this preset). The first set of presets is called the Essential Lightroom Preset Collection, which is a set of work-flow centered presets to get you through the editing process quickly. This new set is called the Top Secret Collection, which is a set of effect presets to compliment the Essential Collection. This effect in particular is mostly based in the split toning panel of the develop section in Lightroom. There are some other settings in Saturation, Vibrance and Clarity etc that help to make it look just right, but the bulk of the effect is there in the split toning.
By the way, if you are going to be at WPPI and want to take my master class, but can’t get in because it is full, email registration@wppionline.com and ask to be placed on the waiting list. If there are enough people on the waiting list, they will open another class. And more importantly, they will book me in a platform class next year, which they should have done this year. So if you are going to WPPI, email and ask to be placed on the waiting list.

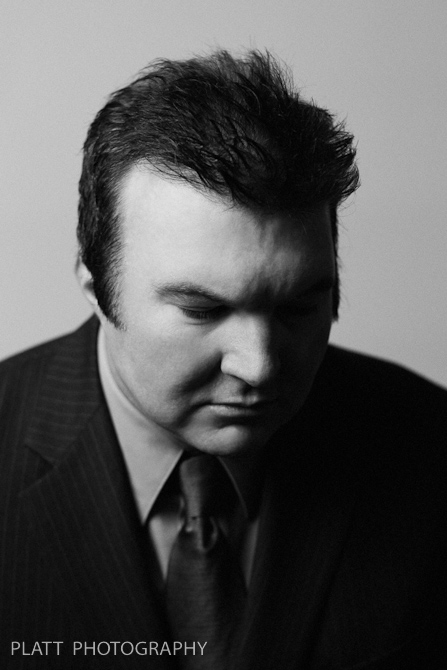
And finally, a nice black and white at 1600 ISO. This Canon 1D Mark IV is incredible in the higher ISOs. I can’t say enough good things about that ISO. I turned off the flash slaves and simply used the modeling lights, raised the ISO with impunity and shot. With this camera, I will never fear the ISO. Never.


Leave A Comment
You must be logged in to post a comment.